

It's finally starting to feel like fall here in Tennessee and I'm beginning to come to the sad realization that summer is over. I'm such a summer junkie, the days filled with warm sunshine, popsicles, watermelon, beach vacations, and messy outdoor play make me so happy. I could seriously live somewhere that never goes below 75 degrees.. No, no! 78 degrees. So, when people start wishing for the fall and winter seasons to come, I start to thinks about how to bring all the amazing things I love indoors when the weather is not so friendly to me. Today, was one of those days! Smocks.On's new theme -- ACTION ART -- is on the to-do list, but it's a frigid 50 degrees out and all I want to do is go outside and GET MESSY!
Time to get creative! During the Easter season, we discovered tons of fun ways to decorate eggs. One of our favorites was taking those cardboard eggs, dipping them in our favorite soft pastel-y colors, throwing them into a bin and shaking them till they were covered in a coat of gorgeous marble effect paint. So, I thought why not do this same exact thing BUT with a FALL spin?! We decided that pine cones were the way to go and with the idea of adding a lid, I was able to bring this activity inside.

When I started introducing Luke to art, I've noticed that he is more engaged when he is moving. He isn't much of a sitter, so making action art is perfect for him. He couldn't wait to cover his hands in paint as he rolled those pine cones and then wipe those colorful hands off on his clothes. He loved the idea of picking up the bin and shaking it to some country tunes playing on the radio in the background. The look on his face as he watched the paint splatter here and there was so fun to watch. He made it look so fun that I couldn't wait to take my turn and once I did, I'm pretty sure I felt every emotion he did. So so so FUN!
(Check out more of the action over on my instagram account @toddler_tornado)

You'll need:
Pine Cones
Tempera Paint
Cardstock or Poster board
Bin
Paper Plates
- Line bin with poster board. -You can also use cardstock.
- Squeeze desired colored paint paper plate and roll pine cone. -Some like to just squeeze straight into the bin.
- SHAKE, SHAKE, SHAKE
- Add additional colors and repeat.
You now have these gorgeous warm pine cones and this beautifully colored piece of art. What now?!
I've come with two Thanksgiving inspired extensions for you to try:

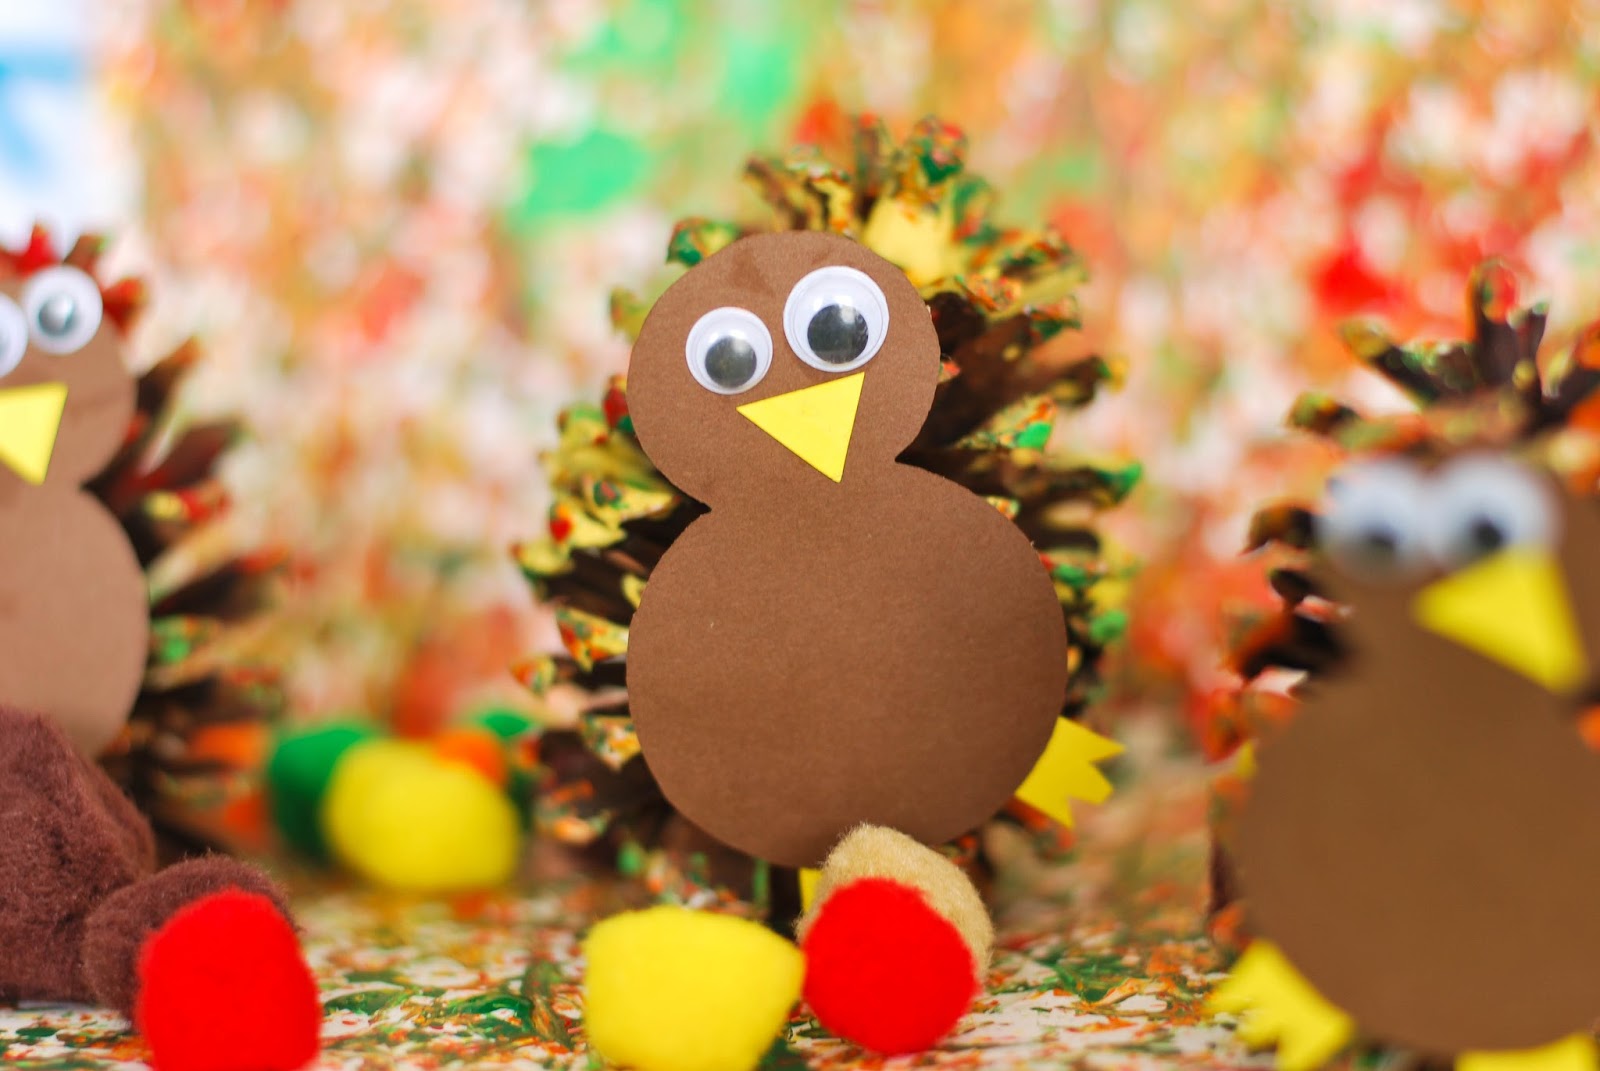
Turkey Centerpieces
These adorable turkeys will be perfect decoration for the kids table for Thanksgiving dinner. Using cardstock, let your little help you make tiny turkeys. Hot glue those googly-eyed creations to the pine cone. That's it! I think this would be the perfect craft to add to your Thanksgiving morning while you watch the Thanksgiving Day Parade.
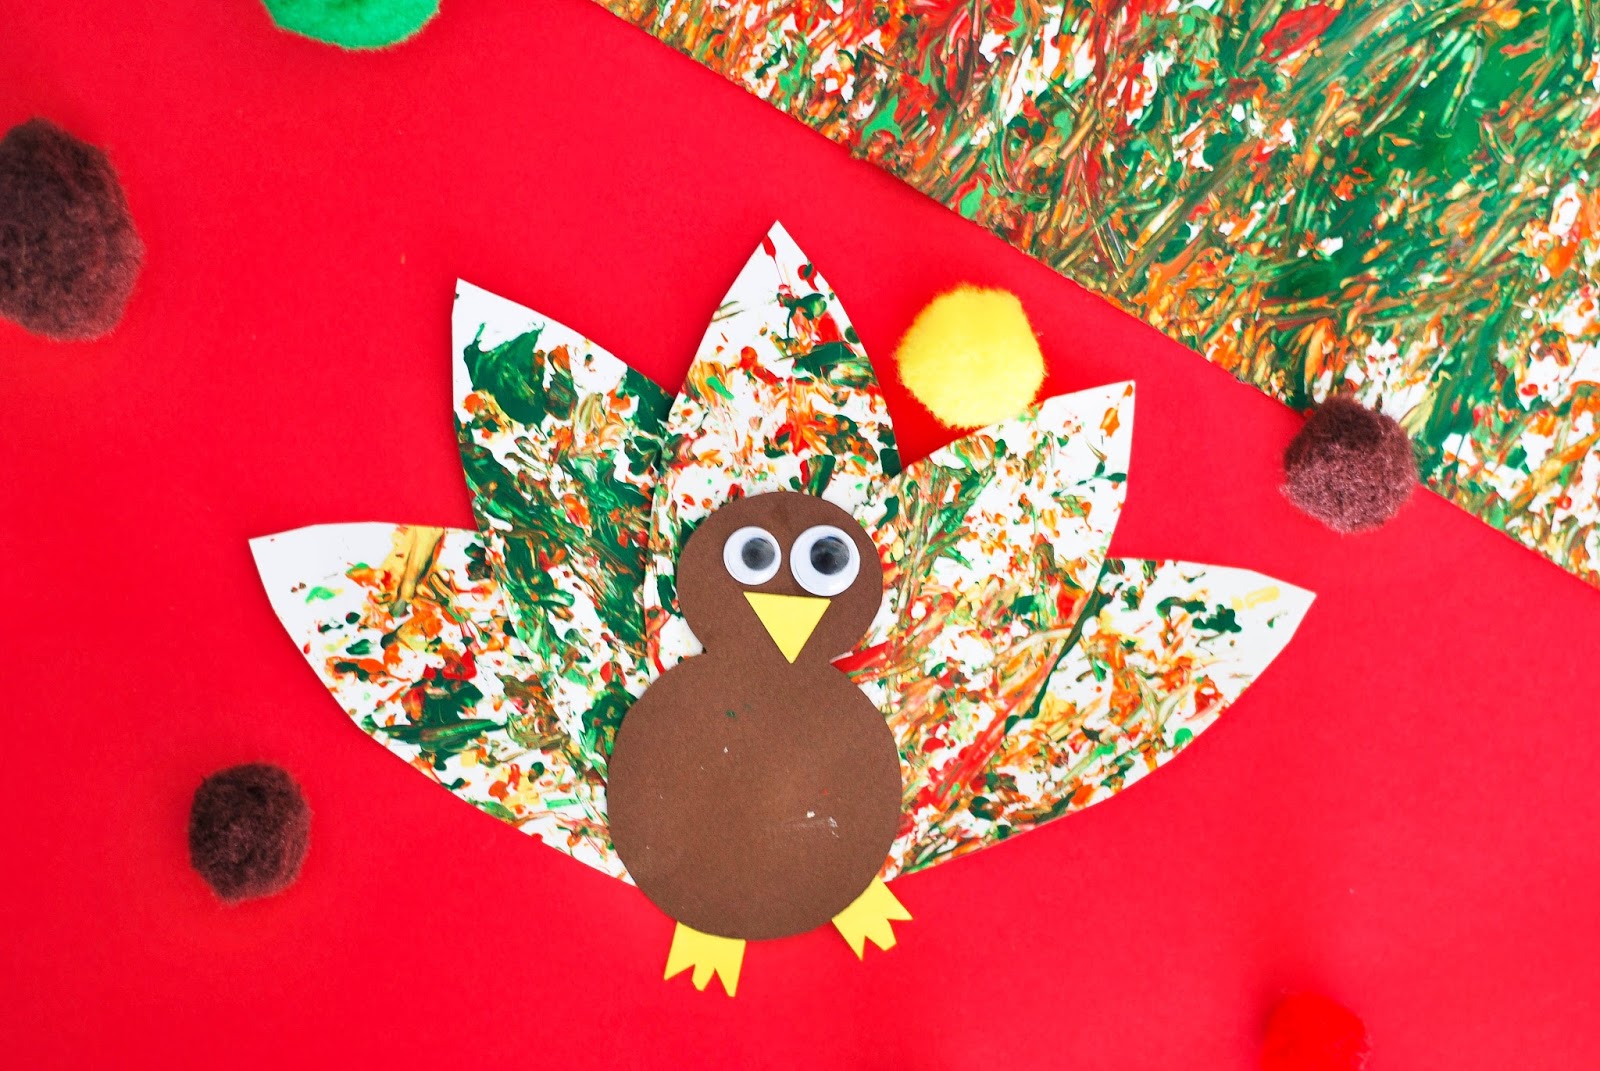
Process Art Turkey Craft
That crazy awesome artwork the pine cones created will make the best addition those left over tiny turkey creations. I simply cut his artwork into the shape of feathers and Luke helped me glue them to the back of the turkey. This turkey craft is sure to be refrigerator-worthy!
I may not have the warm sunshine outside, but my house is now covered in warm holiday fall crafts that make me feel super cozy inside. So get up and get your shake on with this extremely fun process. Its sure to be a GOBBLIN' good time!
Have you been following along on our (@smocks.on) Instagram account? Shannon from OhCreativeDay is guest hosting a week of ACTION ART! We'd love for you to get in on the ACTION, if you know what I mean.


No comments